Installing and using our app for BigCommerce
Introduction
The Cashflows Gateway delivers a range of services designed to help you manage your business payments. One of the ways that you, as a merchant, can link your business to our gateway is by using our plug-in. Our plug-in uses a payment page that we host for you. You can customise it to match the other pages of your website so that customers have a seamless experience. For more information, refer to Adding a Cashflows hosted payment page to a website.
Here are step-by-step instructions for installing the plug-in and configuring your system to process e-commerce payments with Cashflows.
Getting started
Although it’s not required, we recommend that you install the plug-in and perform some testing in a non-production environment, before using it for live transactions in your production environment. To support your testing, we have a specialised integration environment. If you need an integration account for testing purposes, email implementations@cashflows.com.
For information about testing and going live, refer to Getting started with the Cashflows Gateway API (PDF on our website).
Before you start
To start the installation process, you need:
A BigCommerce website.
Access to Cashflows Go so that you can:
Collect your API access credentials. You need these during the installation process.
Customise a hosted payment page, if you choose to use one.
Enable Auto Capture for cards.
When you first sign up with us, we send you a welcome email that includes the details that you need to sign into Cashflows Go. If you don’t know how to sign in, visit How to sign in to Cashflows Go on our website.
Important: You need different credentials for the integration and production environments.
Before you can connect to our production environment for going live, you need: •
A production account
Sign-in credentials
We provide these when your account has been approved. If you have not received these, email support@cashflows.com.
Collect your API access credentials
Before you can use our API, you need to collect your API access credentials from Cashflows Go. This is where you can find:
Configuration ID
This is the unique identifier of the business account (also referred to as the merchant account). You need to include this in API messages so that we can recognise the business and match transactions to it.Current API key
This is the key to use for converting API messages that you send us to a format can’t be tampered with (hashing)
To collect these details:
1. Sign into Cashflows Go. If you don’t know how to sign in, visit How to sign in to Cashflows Go on our website.
2. From the Cashflows Go menu, select Configuration.
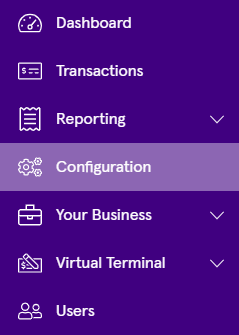
3. Select the API Data page.

The API Data page displays your API configuration details:
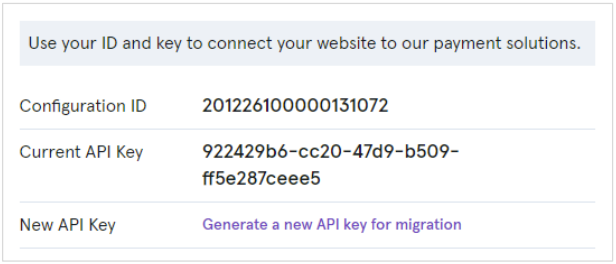
4. Copy these values to an intermediate document (or use your clipboard) as you will need them when you configure the plug-in settings later
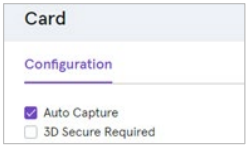
While you are signed into Cashflows Go, you can also enable/disable Auto Capture for cards, as required. For information, see Enable/disable Auto Capture for cards.
Enable/disable Auto Capture for cards
By default, the Auto Capture option for cards is enabled. When this option is enabled, we send both an authorisation (to reserve the funds on the card) and a capture request (for the funds to be transferred) to a shopper’s bank. You can disable this option at any time.
To enable/disable Auto Capture for cards:
1. Sign into Cashflows Go. If you don’t know how to sign in, visit How to sign in to Cashflows Go on our website.
2. Select Payment Methods.

3. Select Card.
4. Set or clear the Auto Capture box.
Customise the Cashflows hosted payment page
To provide a seamless shopper experience, we offer the option to add a secure payment webpage that looks and feels like part of your website but is created and hosted by us. We call this a hosted payment page.
Our hosted payment page is a secure webpage that you can incorporate into a website. By connecting our hosted payment page to your website, you are integrating with the Cashflows Gateway and all of the functionality that comes with it for processing online payments. You direct shoppers to our hosted payment page where they check out and pay. We take care of the processing, including security aspects and many of the technical complexities. Then when we have finished the payment processing, we redirect the shopper back to your website.
You can use the default hosted payment page as we provide it or you can customise the look and feel to match the other pages of your website. For example, you can add your logo, apply your branding, font, and colours.
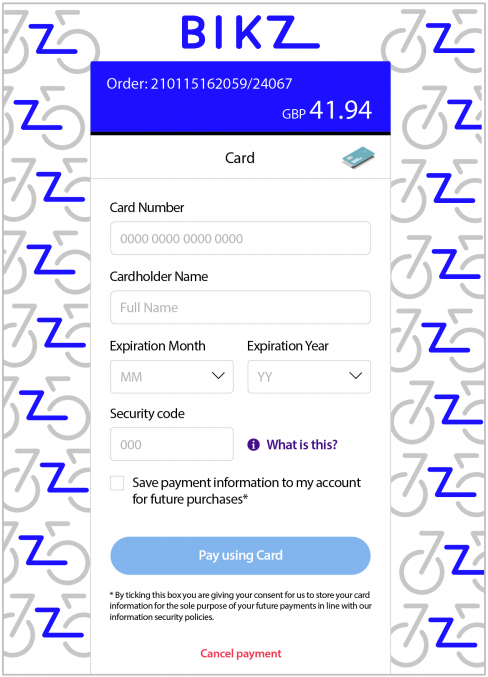
You can choose what to change and what to leave as it is. We recommend that you consider changing the following elements as a minimum: •
Business logo
Colour of the text and background of the content header bar
Page background colour or add an image
Pay button
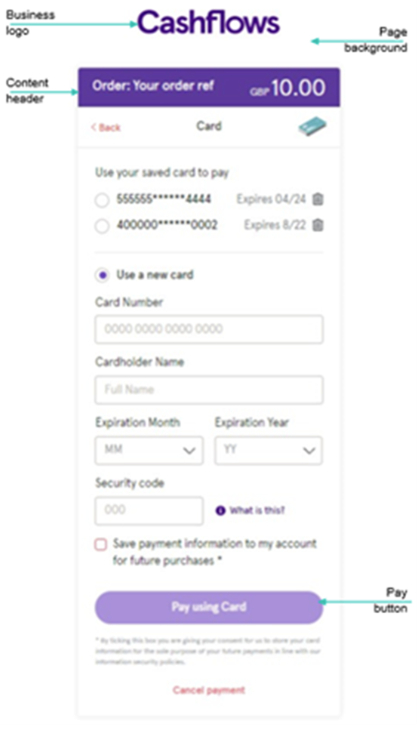
For step-by-step instructions that show you how to customise a hosted payment page, refer to Customising a hosted payment page (PDF on our website).
Installing the Cashflows app
To install the Cashflows app within BigCommerce you need to find the Cashflows app on the BigCommerce marketplace
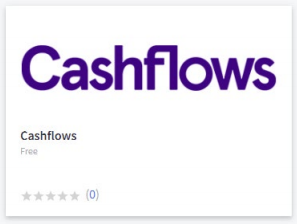
1. Locate and select the app.
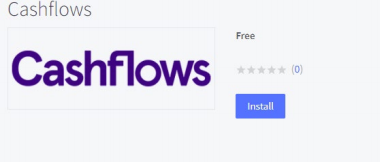
2. Select Install.
3. Wait for the app to install.
4. To complete the installation, select the PCI DSS compliance box.
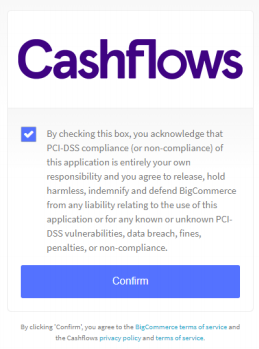
5. Select Confirm. The following page is displayed:
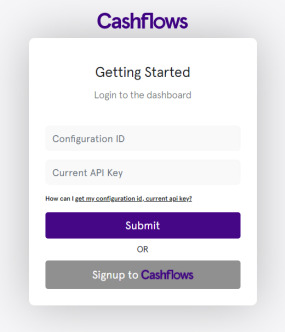
6. If you have a Cashflows Gateway account with us, provide your Configuration ID and API key. Otherwise select Signup to Cashflows to start creating an account.
7. Select Submit.
Turning on the app
When you are ready to take payments, you need to turn on the app. To turn on the app:
1. In Payment Options, set the Action switch next to Capture on order placed:
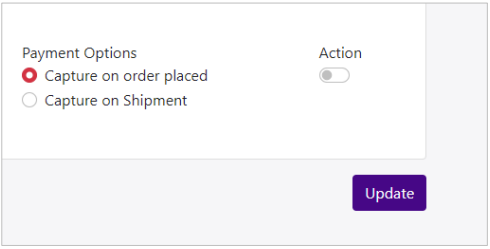
To
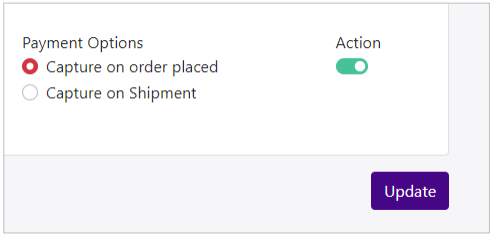
2. Select Update. The app is activated and your website is connected to the Cashflows Gateway.
Testing
When you have completed the configuration described, we recommend that you carry out sufficient testing to ensure that everything is working as expected. For payments made in the production environment, you can cancel or refund them, if required. For more Information about testing and going live, see Testing and Going live.